Hello, new renter! Congratulations on moving into a brand-new to you, apartment!
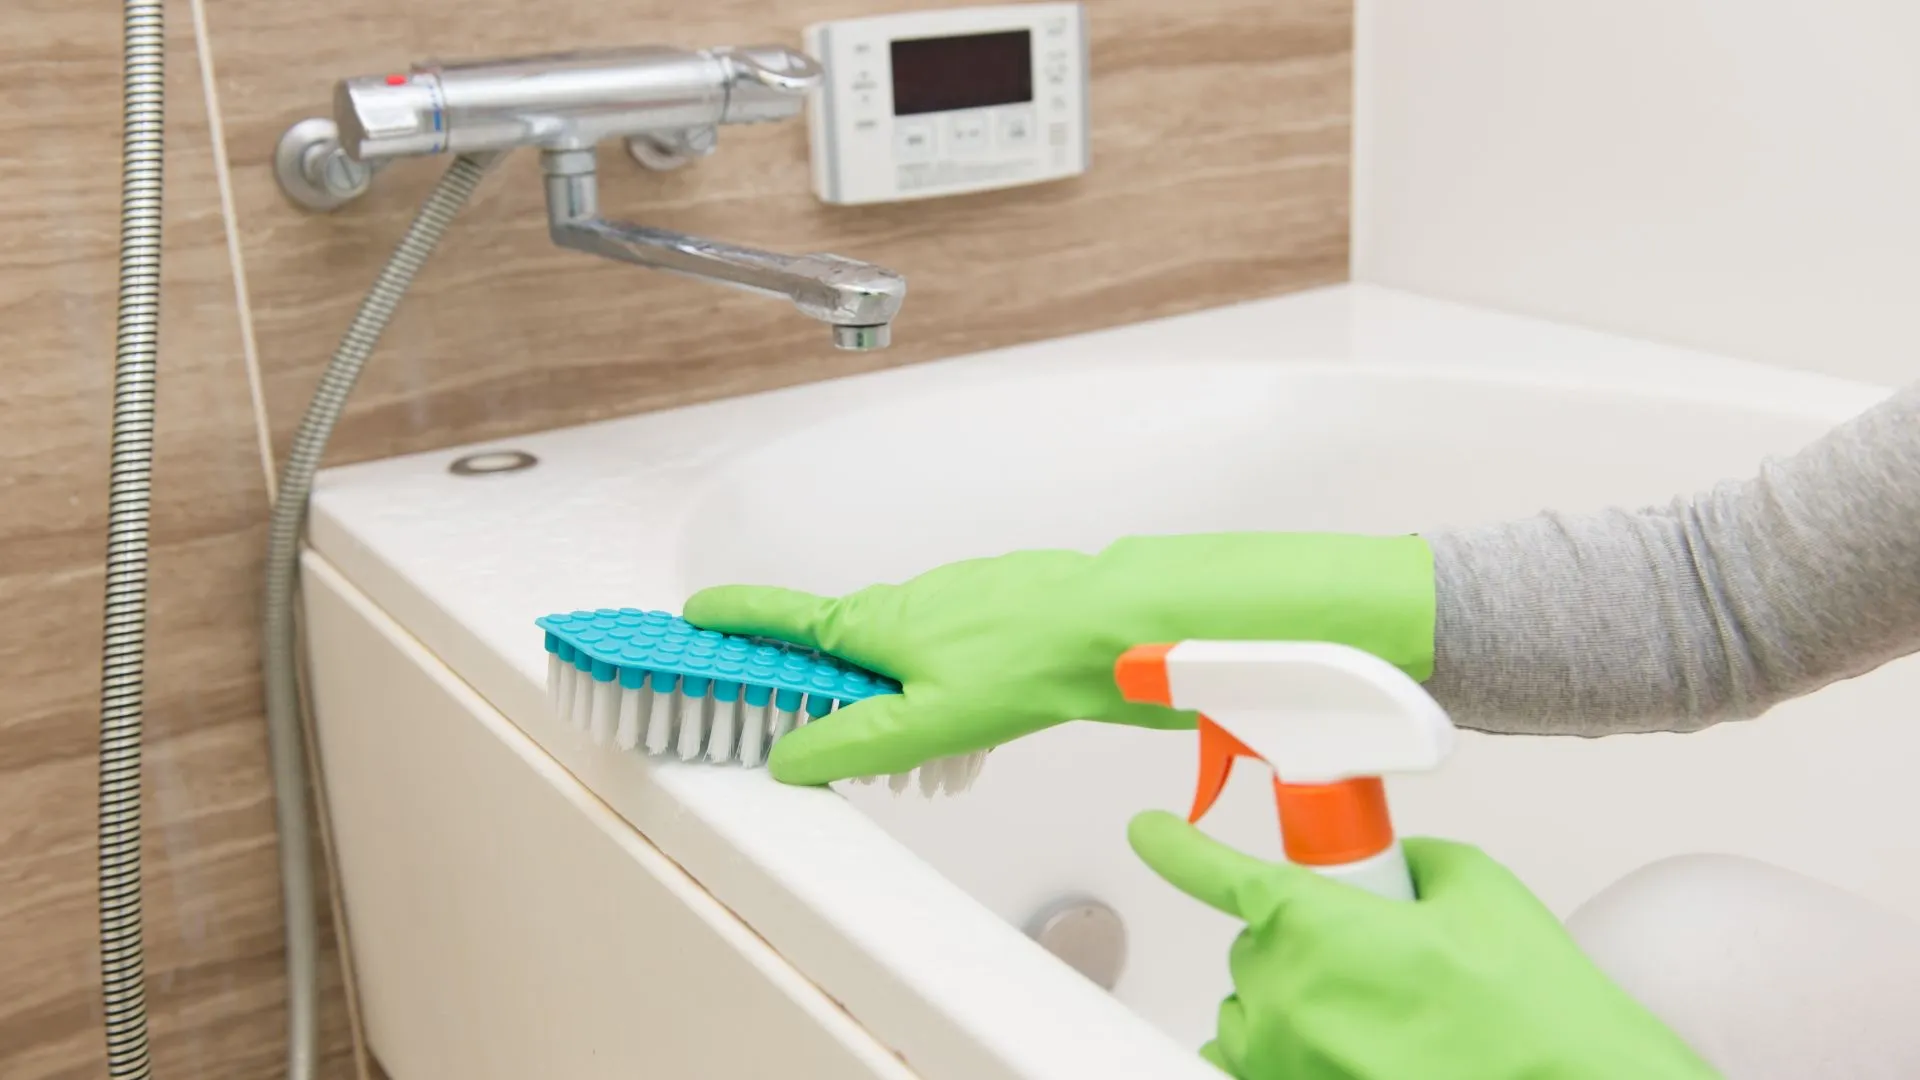
The excitement of moving into a new space can quickly turn into dismay when you discover that the bathtub looks like it recently housed a “mold-themed” science fair project. The sight of a very dirty bathtub filled with grime, mildew, and mysterious bathtub stains that won’t come out feels worthy of a lease-break, but if you’re willing to pull on some gloves and bear down, this guide will help you reclaim your porcelain paradise. If you’re ready to learn how to clean a disgusting bathtub and transform it from fetid to flawless, let’s dive in and get messy.
One: Preparation is Key
Cleaning a dirty bathtub that’s been neglected over the years isn’t a light task, and a little bit of prep work can make a big difference to the final outcome.
- Remove Dry Debris: Bust out the vacuum and suck up all dry debris like dust, hair, and any loose particles that have accumulated in and around the bathtub. This prevents these from turning into a muddy mess when they come into contact with your bathroom tub cleaner.
- Unclog Drains: Manually remove hair that’s caught in the drain (pull it out) or use drain cleaner for clogs further down. The last thing you want is standing water during your deep clean process.
- Pre-soak: When learning how to clean a disgusting bathtub, the best recommendation we can make is to pre-soak it beforehand to loosen up grime, and soften stubborn bathtub stains that won’t come out.
Two: Tackle Soap Scum & Gunk
Now that the dry debris and pre-soak is taken care of, it’s time to tackle the layers of soap scum and gunk. For this task, you will need:
- A large bowl or cup for rinsing off lifted soap scum and grime.
- A scouring sponge to remove the buildup.
- Microfiber cloths to tackle the lighter layers once the main buildup is gone.
While you can use a homemade mixture of equal parts vinegar and dish soap to gently cut through the gunk, a commercial bathroom tub cleaner like our ultimate bathtub and shower kit, is better suited for a dirty bathtub, requiring less intensive work and time to remove grime.
Three: How To Remove Hard Water Stains and Limescale
Mineral deposits from hard water can build into tough stains that dull the shine of faucets. To bust through them, you’ll want to pick up a commercial hard water/limescale stain remover, or create your own with white vinegar (50:50 mix) and a spray bottle.
-
- Tub/Shower: spray your solution and let it sit for 1-3 hours. Rinse and dry with a microfiber cloth.
- Chrome Faucets: Soak a towel in vinegar, wrap it around the faucet, and leave for 1-3 hours.
- Showerhead: Treat like you would your faucets, but use a toothbrush to get at the hard-to-reach areas. Allow to sit for 3-6 hours. Alternatively, tie a bag filled with vinegar around the showerhead.
Note: long-standing hard water/limescale stains on glass shower doors can etch the glass and permanently damage them with a white, cloudy residue.
Four: Learn How to Remove Rust Stains in the Bathtub
Rust stains are surprisingly common, but have one, simple rule when removing them: Never use bleach, as this makes rust worse. You can either purchase a rust removing product, or use a pumice stone, soft scrub, or chemical-free pad to buff the stains away.
Five: Say Goodbye to Mold & Mildew Stains
The creeping, black stains of mold and mildew aren’t just unsightly, they pose a risk to your health as well. Be sure to bring your best game forward to remove them, as just clearing up the stain isn’t enough.
- A commercial mold killing spray will both kill off the mold spores and help remove the stain. Use a small scrubbing tool, such as a toothbrush, and follow the product’s directions.
- You may find success with either a 50:50 mix of bleach and water, or pure vinegar, but neither are particularly effective at killing mold spores. Remember never to combine these solutions, as it results in a deadly gas.
Be sure to address any leaks or issues with poor ventilation, as this will help to reduce moisture buildup and prevent mold and mildew from returning.
Six: Buffing It Dry For a Glistening Shine
The last step is all about using a microfiber cloth to buff your tub’s surface dry. You don’t want to leave it to air dry as left-over water can create hard water stains, encourage mold/mildew growth, and leave mineral-infused water streaks.

